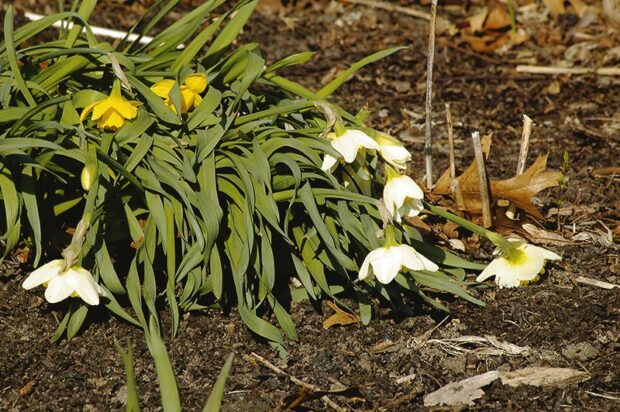
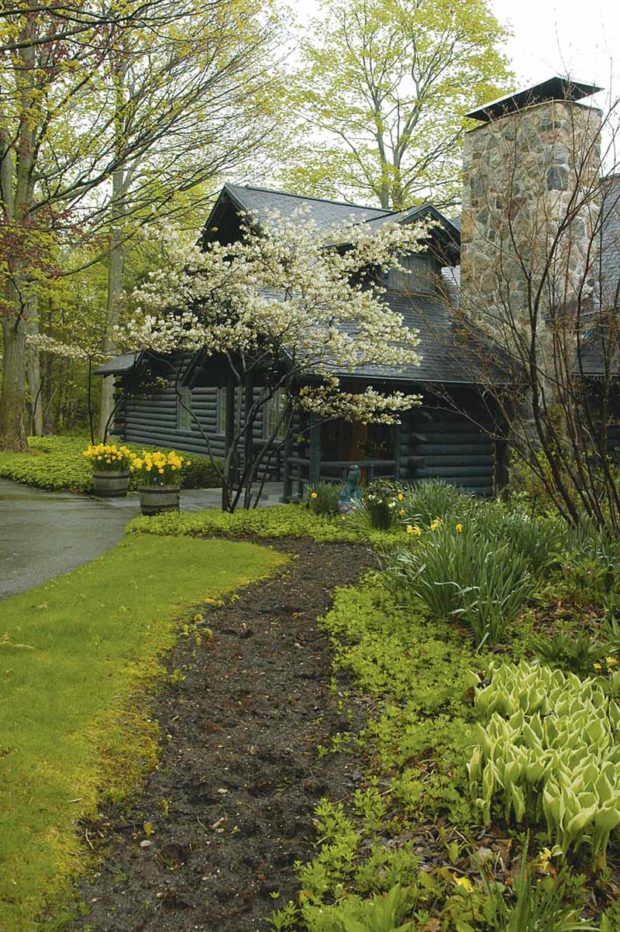
April is like the opening movement of a slow and gentle spring symphony, a cluster of crocus here, a ripple of daffodils there, the soft mist of blue scilla under the oak, with diminuendos of delicate wildflowers, and the occasional somber note of hellebores.
Neighbors, whom we have not seen all winter, emerge from hibernation on the first warm day, and we tell each other how glad we are that we are still alive and that spring is finally here.
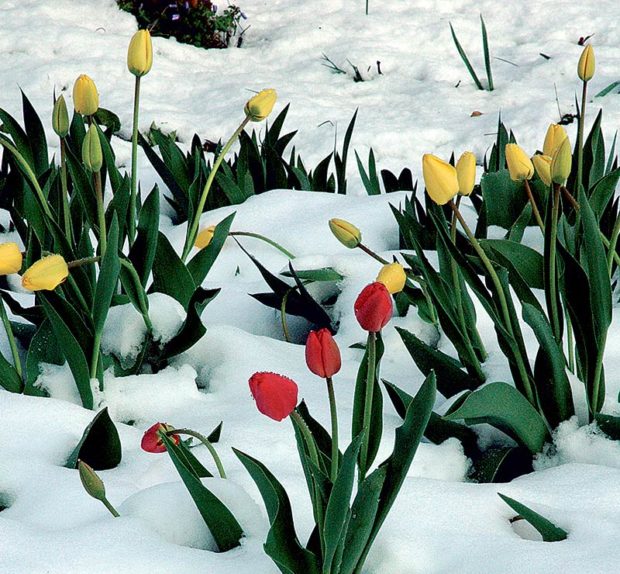
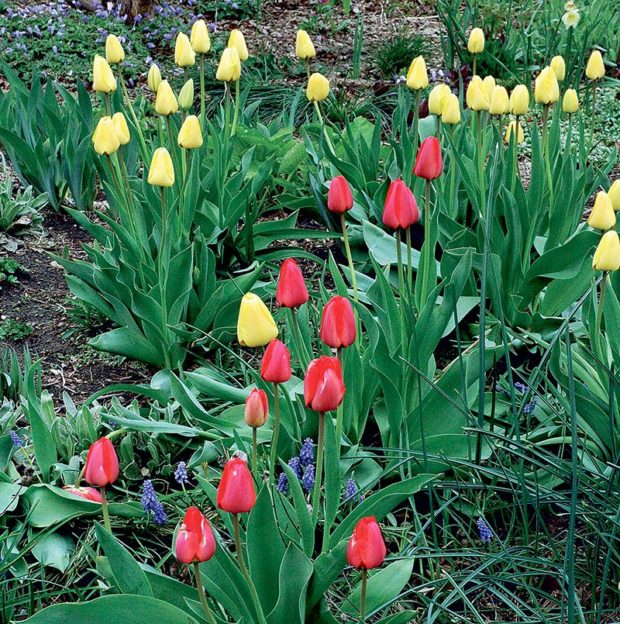
For me though, spring pleasures begin much earlier, when the first cut daffodils and tulips appear in the stores. Every week I buy a bunch of tulips and watch them change from tense, tight creatures to voluptuous stars, opening wide and saluting the world. This week’s lot are scarlet, and when I first put them in water they were all droopy, but after a night’s drinking they pulled themselves to attention like so many soldiers and grew bigger, puffed up with grandeur. Now they are flaunting themselves like ballerinas bowing to an audience and the outside base of their petals is gold. The leaves have turned from dark green to paler and are curving in sympathy with the blossoms. By week’s end, they will be worn and weary and it will be time to choose the next color—orange or pink or yellow.
Sometimes too I buy bright yellow daffodils and the house is filled with instant sunshine, or I bring in a bunch of dead-looking forsythia twigs from the garden and in no time at all they burst into golden stars. For an extra treat, spend an afternoon at the Detroit Institute of Arts with the Dutch flower paintings of spring flowers, including those beautiful bicolored, ruffled tulips (purple with green and orange with cream) as well as iris, primrose and narcissus. The colors are so vivid they look as though they have just been painted.
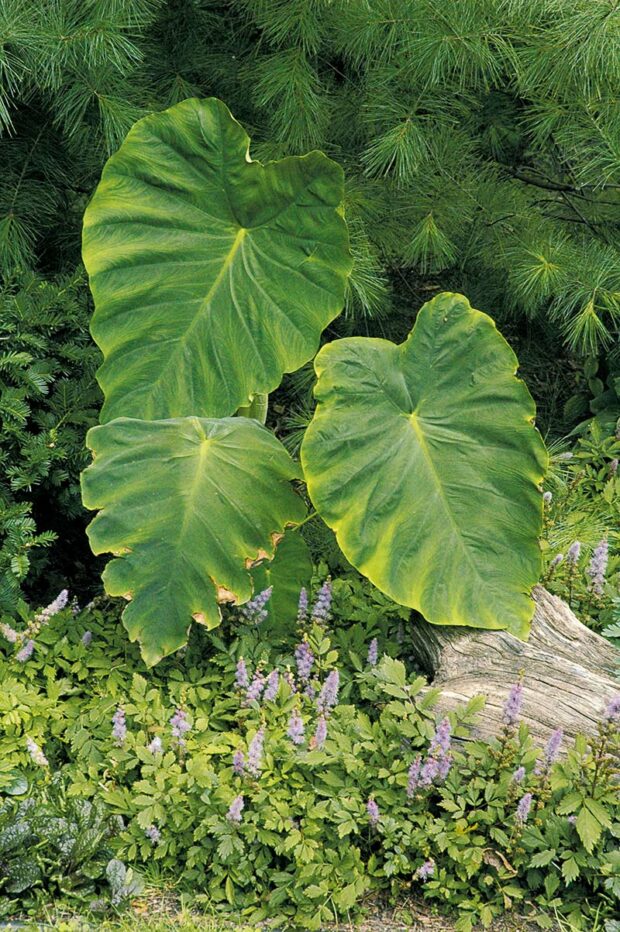
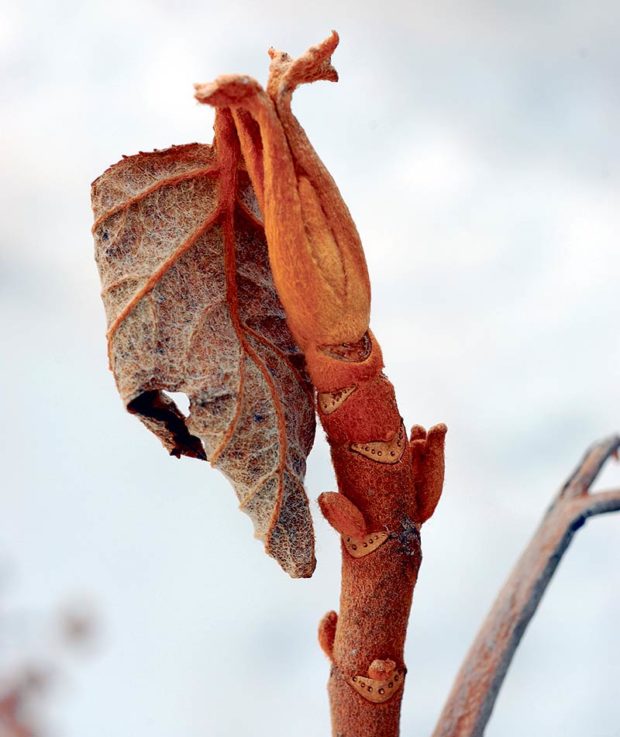
But what do you do in February when icy winds whip the garden and everything is brown and dreary and lifeless? I dove into plant catalogs and was particularly excited by a golden smoke tree (Cotinus coggygria ‘Golden Spirit’), a lovely lemon-leaved weigela, and some stunning new hydrangeas. Once again I became determined to try the various daphnes for leaf, flower and fragrance. One of the easiest is ‘Carol Mackie’ (Daphne x burkwoodii). Consider the liberal use of outstanding foliage interplanted with both perennials and annuals, giving a tropical feel to the garden, even in colder areas.
My next spring pleasure is visiting the garden stores to see what is new in pots, window boxes, garden furniture, sculpture and tools. There is everything from tiny flower pots, old tools and wire planters to sundials, wrought iron and wicker furniture, as well as sculptures from both here and overseas. Old is not necessarily better, so browse around and find wonderful European glazed pots, terra cotta from Greece, willow seats and arches from England, or wonderful American garden furniture and furnishings. I rather like the pseudo terra cotta, fiberglass planters that look like the real thing but are lightweight, and more importantly for our climate, frost-resistant so you don’t have to haul them into the garage in the fall. They make marvelous containers, particularly for shrubs and perennials.
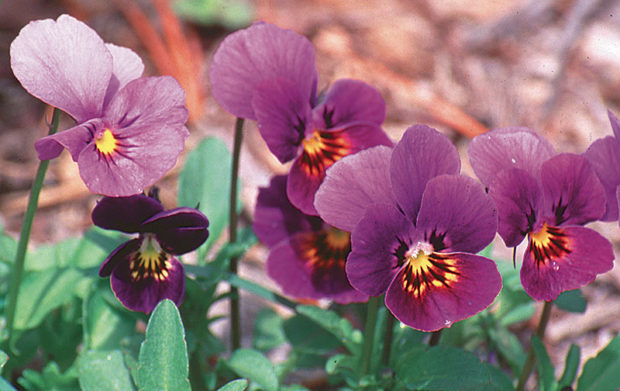
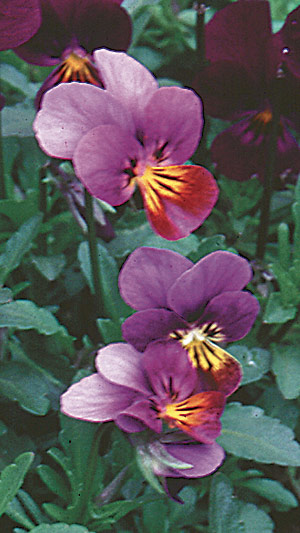
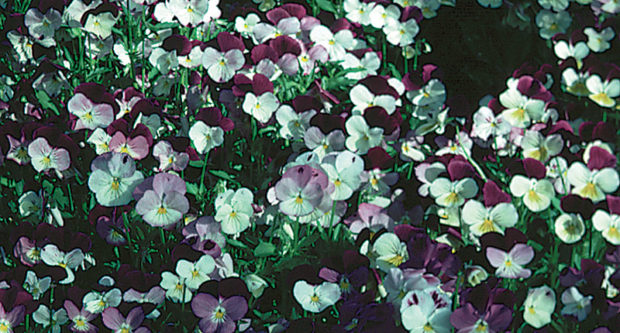
While you are looking, check out the new seeds and bulbs. More and more organic vegetable seeds are available as well as wildflowers, perennials and annuals. There are poppies to delight us: the Shirleys, Icelands, Flanders and Orientals, and I noticed a double dark red, almost black poppy. Look for black in hollyhocks, pansies, fritillarias, and even very dark purple roses and almost black peonies. If you want to keep up with the English royals, plant a black and white garden like Charles did at his glorious Highgrove property.
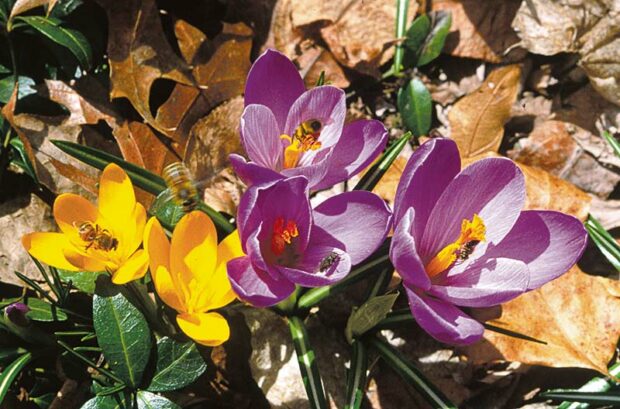
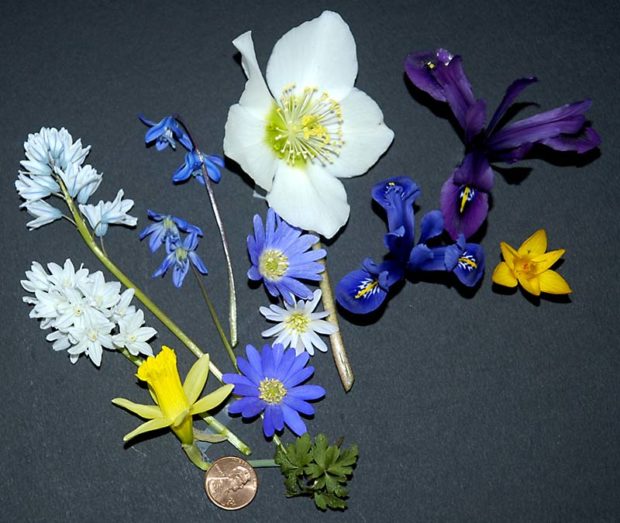
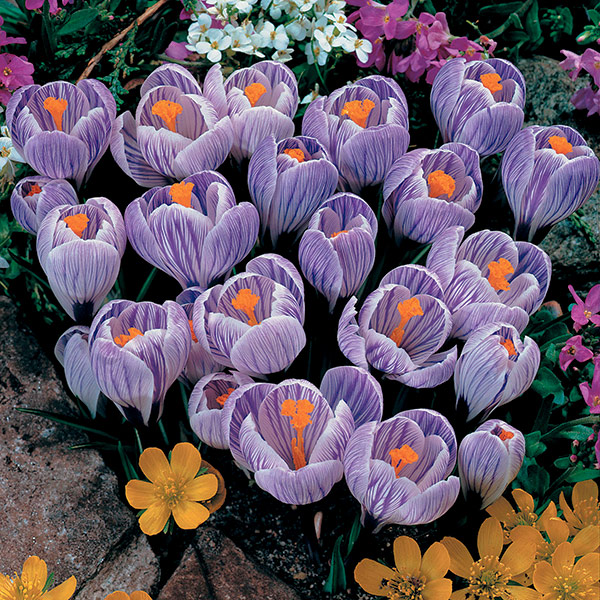
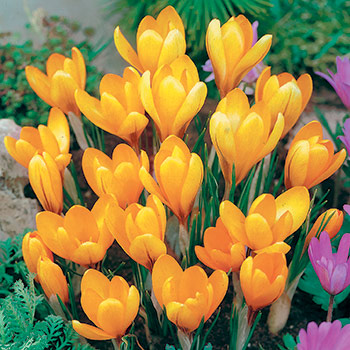
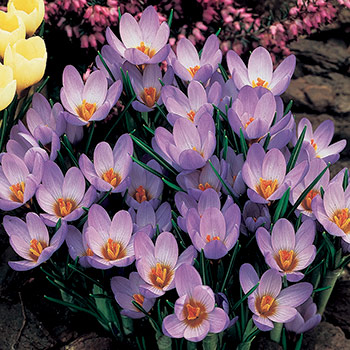
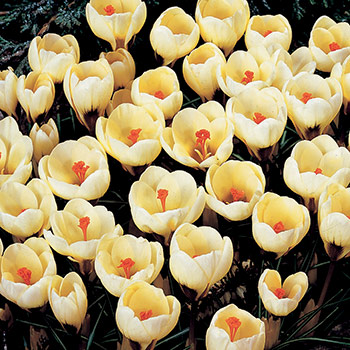
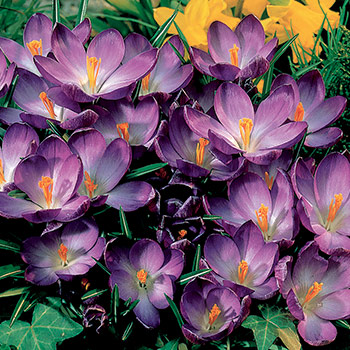
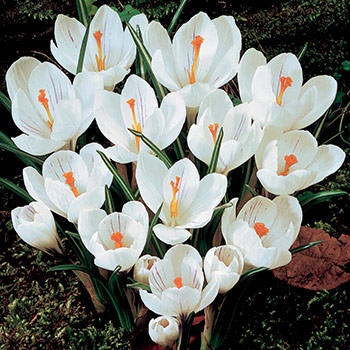
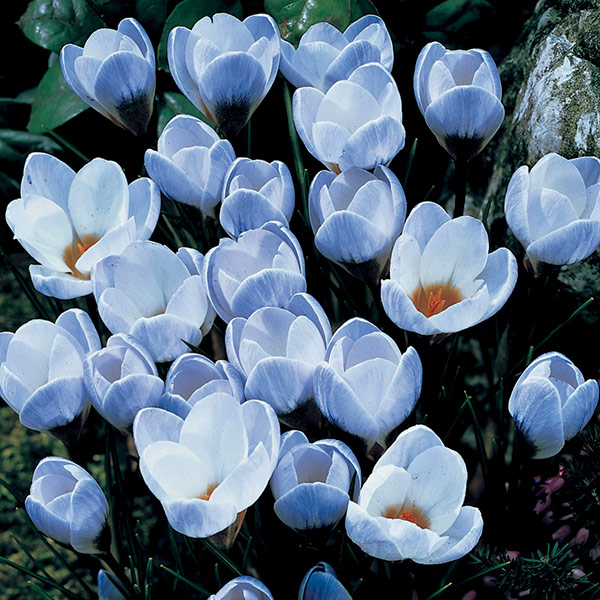
So what is left for early spring? Reading catalogs, starting vegetable and annual seeds, ordering plants, reading, dreaming and waiting. It’s almost time to get out into the yard and even as I write this in March there are signs of warmer weather. The migrant birds are back, red wing blackbirds, the titmouse, swans, geese and herons. Last week in Ann Arbor I saw a carpet of snowdrops under a tree, and there is a scattering of crocus, aconites and dwarf iris (Iris reticulata) in the garden.
Soon the first fresh Michigan asparagus will be ready and all the abundance, glory and color of spring stretch ahead of us in days of endless sun, flowers, light nights and warmth. What bliss!
Christine Jamieson gardens in Oakland County, MI.