These maintenance techniques will keep your flowers neat and profuse
by Steven Nikkila
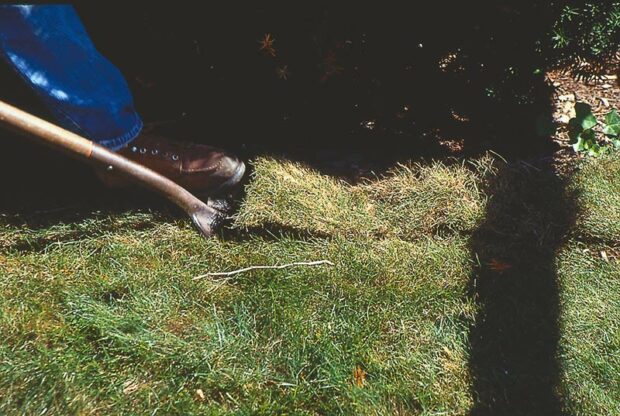
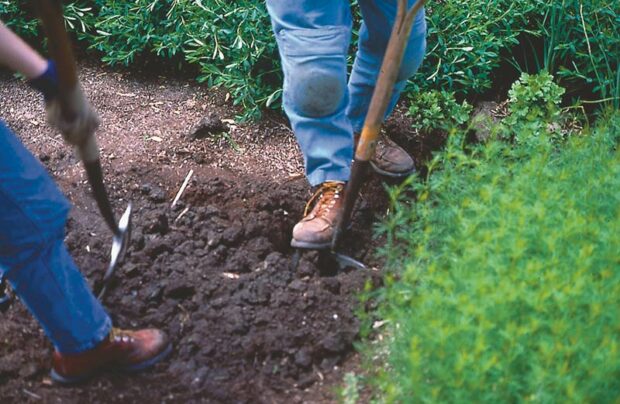
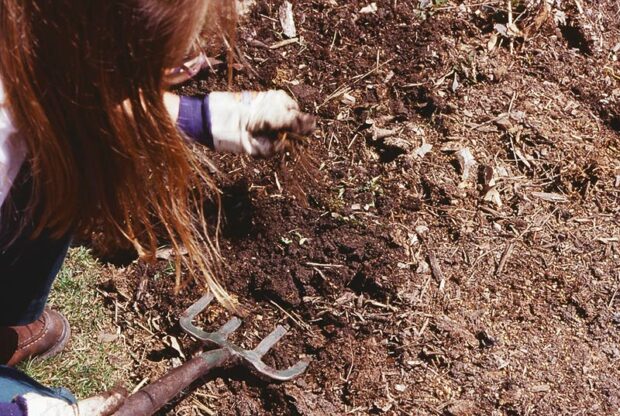
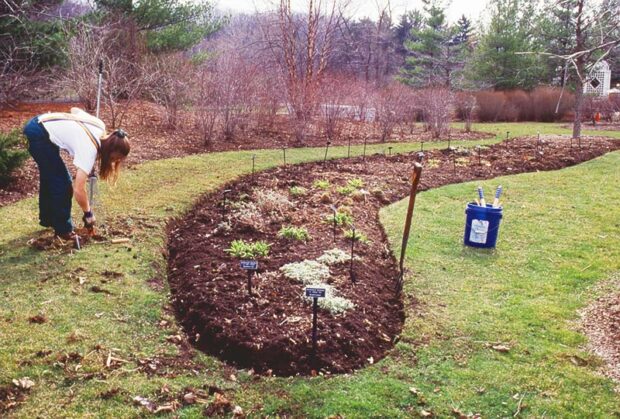
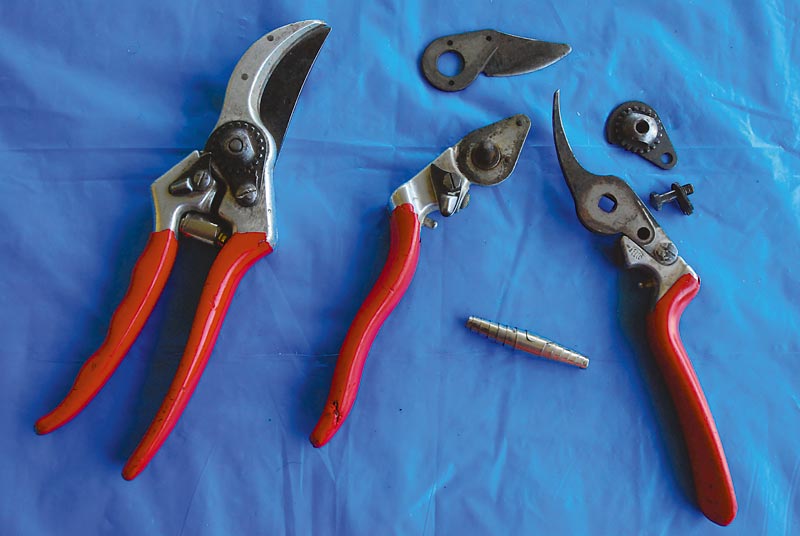
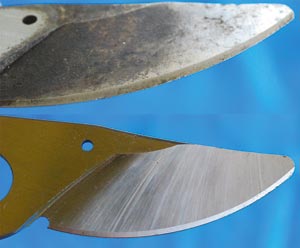
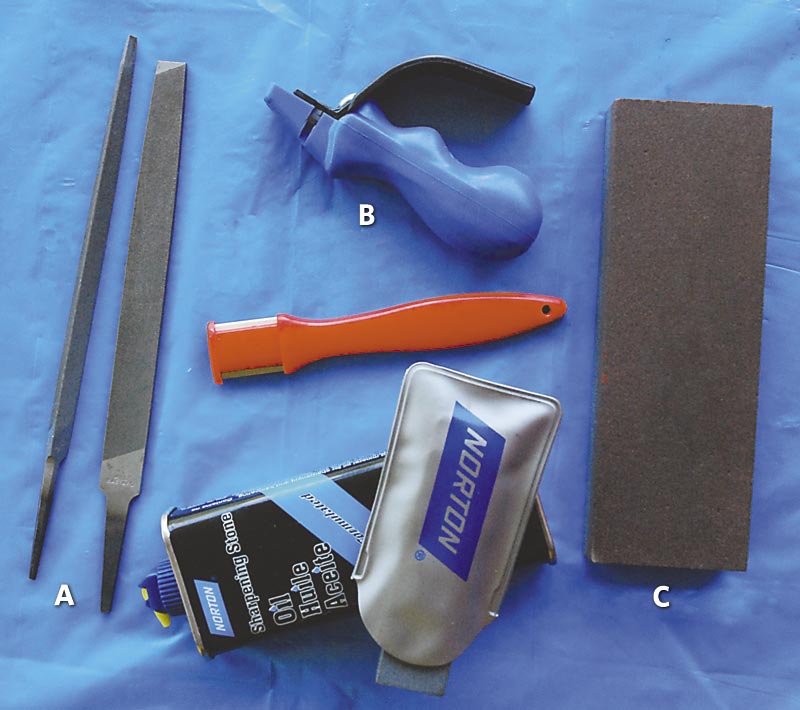
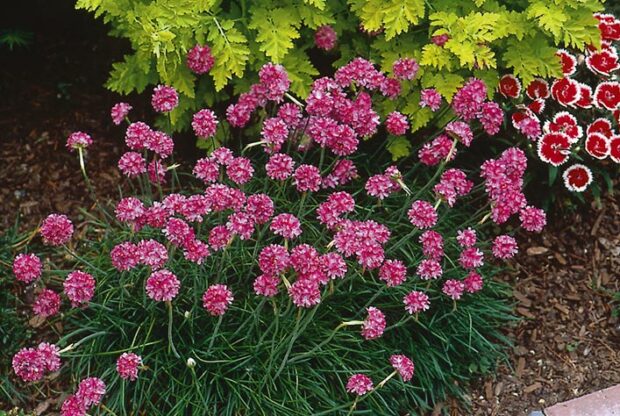
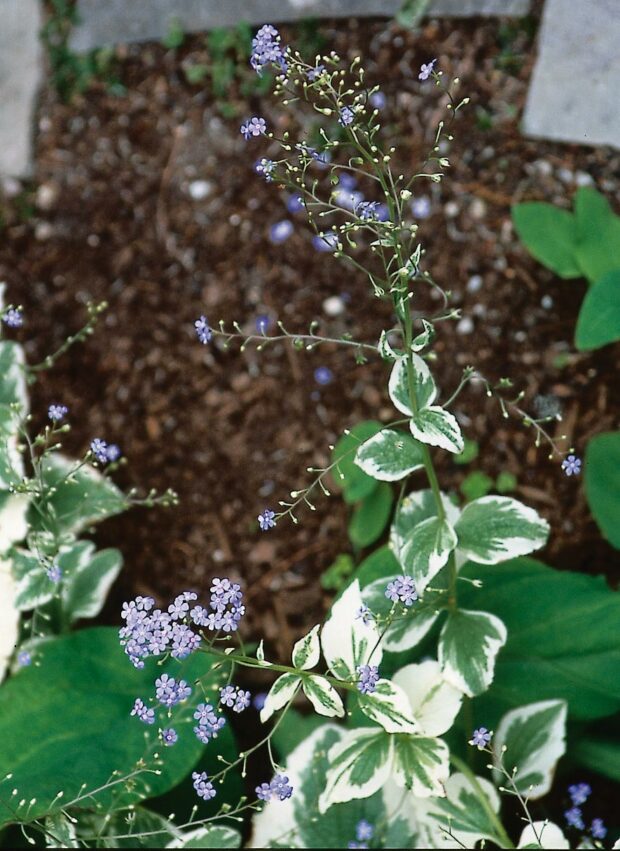
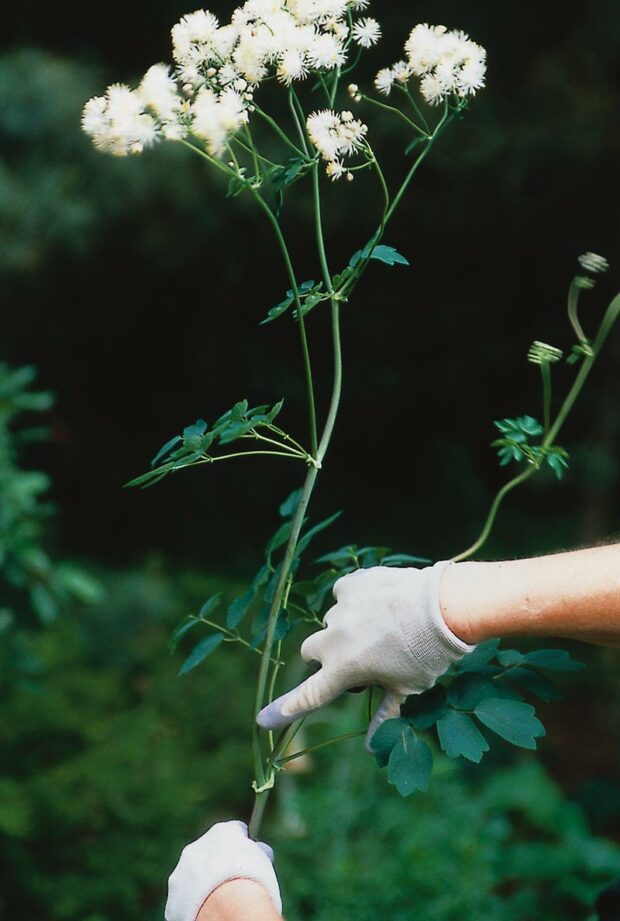
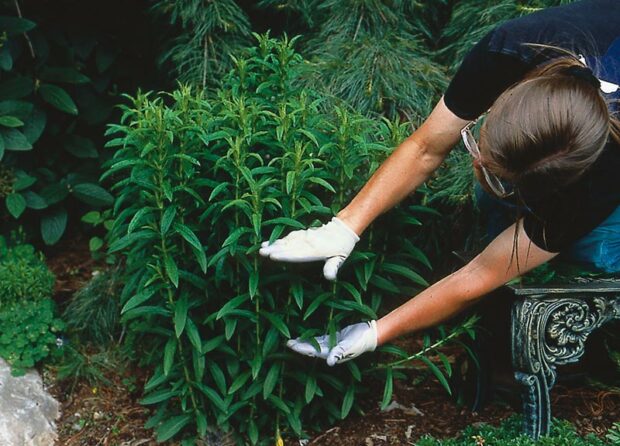
To deadhead is to remove spent flowers. To cut back is to remove spent flowering stalks and foliage after a plant’s effective bloom season has finished (see photos 1 and 2).
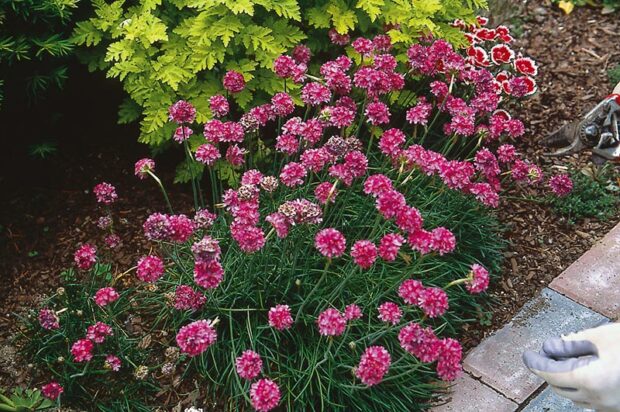
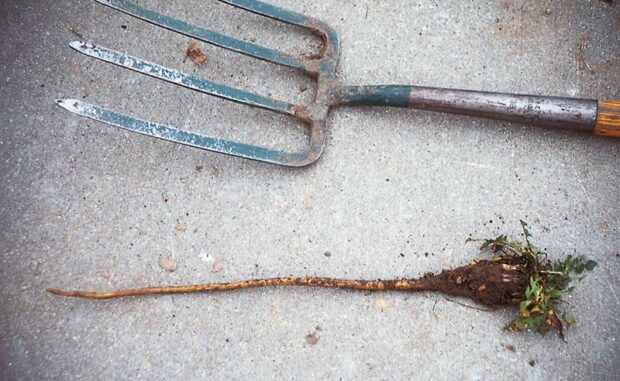
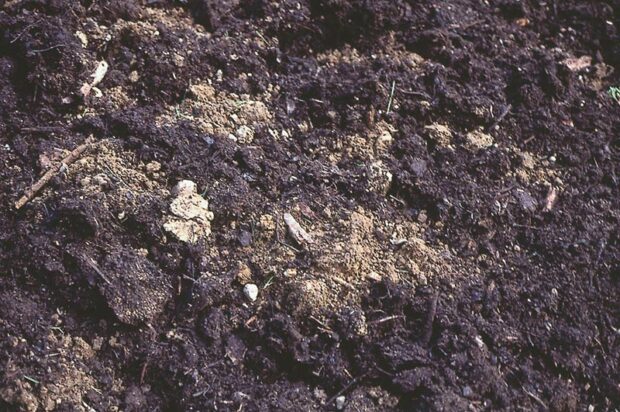
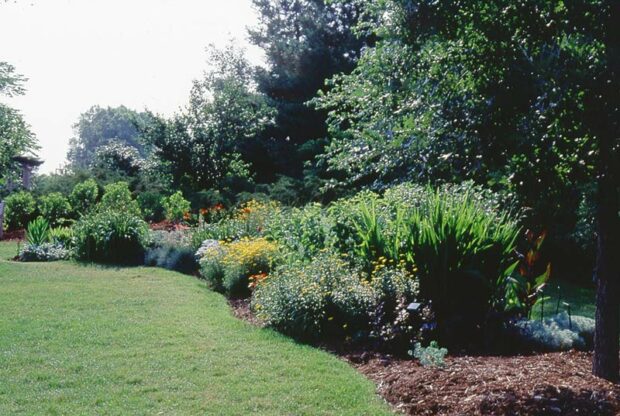
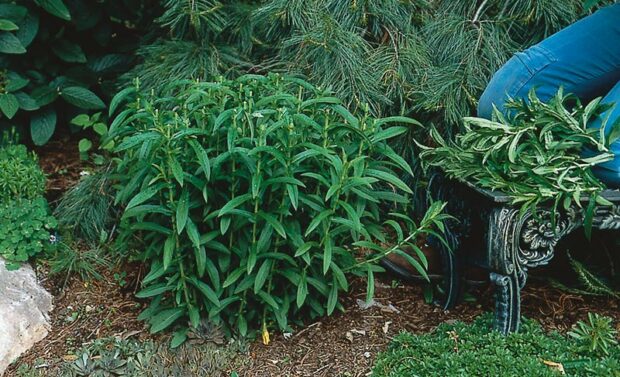
Deadhead and/or cut back to keep the garden neater and more colorful. It prevents seed formation, which in turn may prolong a plant’s flower production cycle. It reduces the amount of ripening, brown seed pods and stems, making the scene more green and lush. Finally, it limits the number of seeds that fall in the garden. Fewer seeds means fewer problems with prolific seed producers that can become weeds through self-sowing (see photo 3).
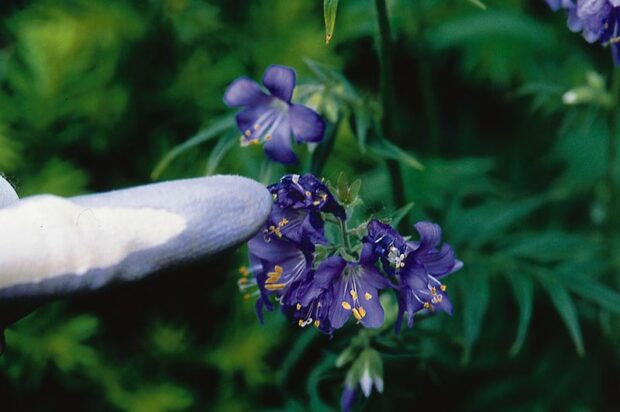
The simplest deadheading is to remove each flower as the petals fade, leaving developing flower buds behind. Flowers and buds may be in clusters, with buds tight against the faded flowers. To remove each flower in a cluster as it finishes may be more detail work than you care to do. In that case, remove each cluster when the number of spent flowers exceeds the number of buds remaining in the group or on the stem (see photos 4 and 5).
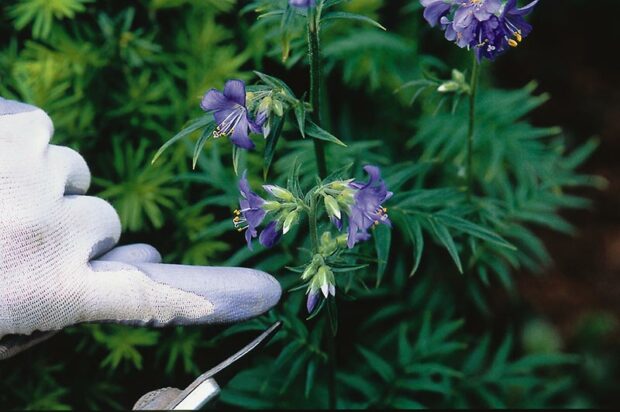
To cut back, note where new sprouts tend to develop on the type of plant you are dealing with. Remove the entire flowering stem, cutting just above a husky stem or node. The thicker the remaining stem, the thicker any new flowering shoot will be. Sometimes new foliage and sprouts are produced only at the very base of the plant, so cutting back will severely reduce the plant’s overall height. This is fine if more foliage is left at the base than is removed in cutting back (see photos 6 and 7).

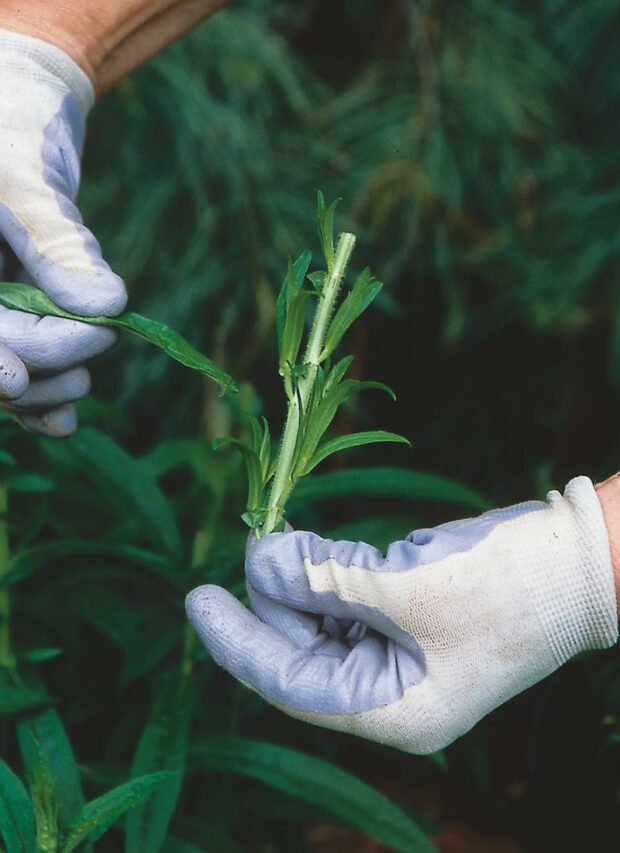
Pinching is a pre-bloom season technique to stall off flowering and make a plant bushier. It is often done to fall-blooming mums, but many other late summer and fall-blooming perennials can be pinched as well, including asters (Aster novae-angliae, Aster novi-belgii and others), hardy hibiscus (Hibiscus moscheutos), balloon flower (Platycodon grandiflorus), turtlehead (Chelone obliqua), and sneezeweed (Helenium autumnale). To pinch, cut off stem tips, removing up to 1/3 of the plant’s foliage (see photos 8 and 9). New branches will sprout from nodes lower on the stem, making several new tips where there was one before pinching. A pinched stem will tend to set a larger number of flowers than a stem left alone, though individual flowers will be smaller (see photo 10).
Plants can be pinched several times during the growing season. It is said that mums should be pinched “3 times by the 4th” (of July). New stems (with new flower buds) tend to take 3 to 6 weeks to appear after the pinch, and flowers open after 2 to 4 more weeks of development, so it’s best to make your last pinches no later than early August.
Article and photos by Steven Nikkila, www.gardenatoz.com.
Related: Growing low-maintenance vegetables
Elsewhere: Summer flower care keeps your plants blooming strong