Chris Hansen is a plant hybridizer by trade, and he tests his creations in his superbly colorful home garden
by Lisa Steinkopf / Photographs by Chris Hansen
To meet and spend time with plant hybridizer Chris Hansen is an adventure and one I will not soon forget. Chris is one of the most plant (and life in general) passionate people I’ve ever met. His enthusiasm for plants is second to none—it makes you want to rush out and buy some!
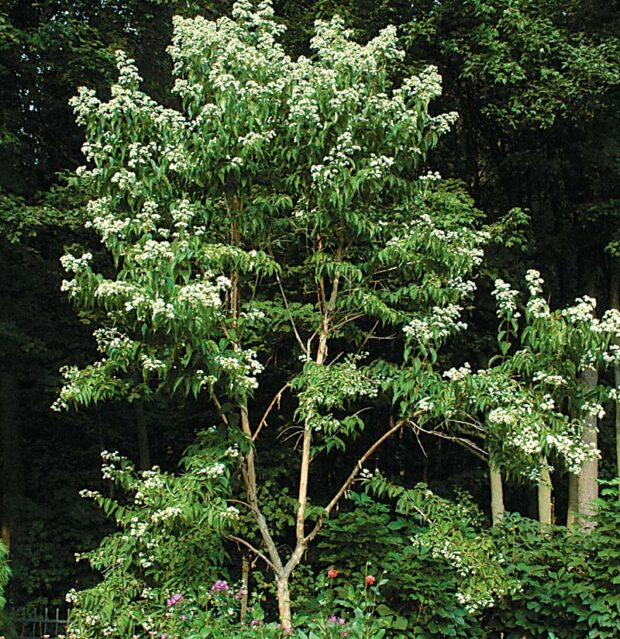
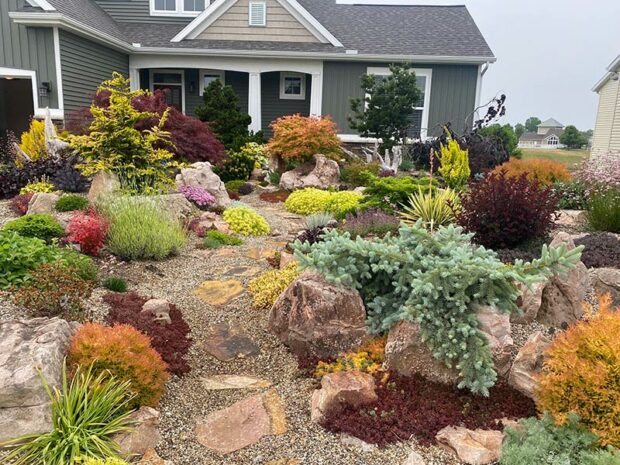
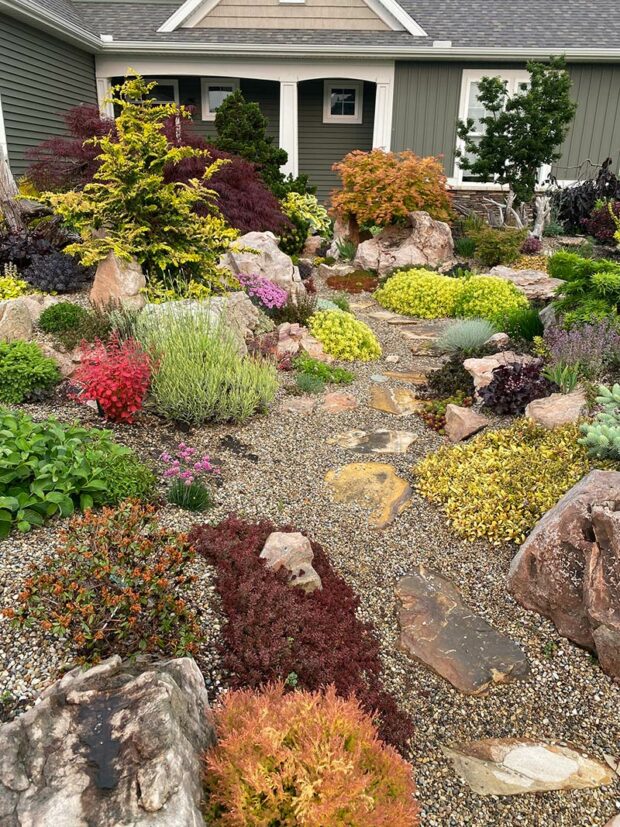
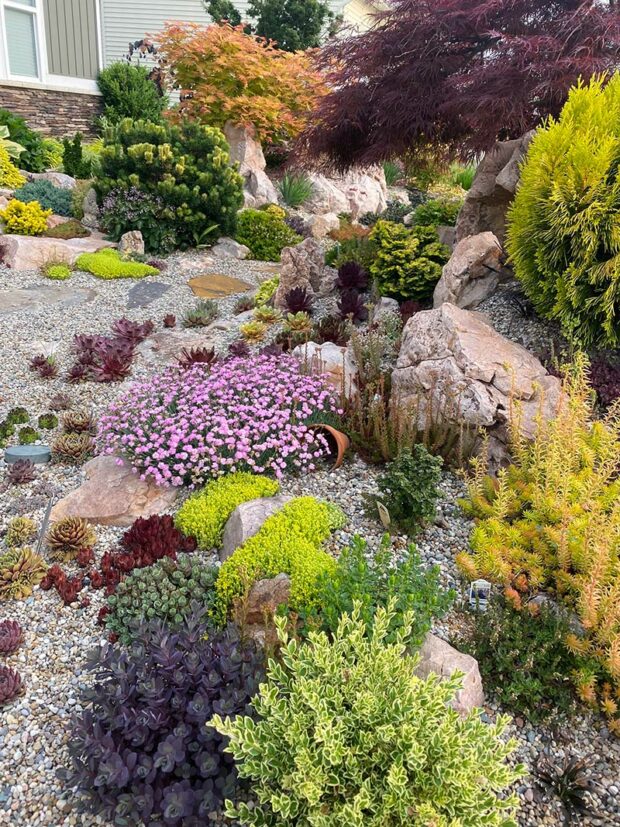
His home garden in western Michigan is not a particularly old one, but if you were to drive through his newish subdivision, his landscape looks like it’s been there for years. His property stands out—you know a serious plant lover is in residence. Chris says that his garden, filled with colorful succulents, conifers, and Japanese maples has motivated the neighbors to landscape their own yards.
Building the garden
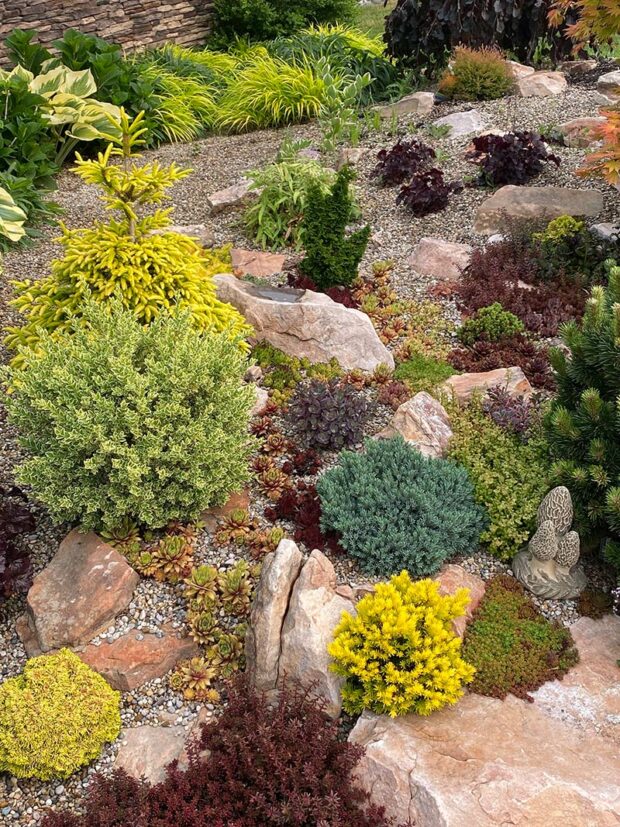
You won’t find typical foundation plantings in Chris’ relatively young garden. The photos accompanying this article were taken when it was roughly five years old. When Chris moved in, the house was newly built and the land was a blank canvas on which he could paint his garden.
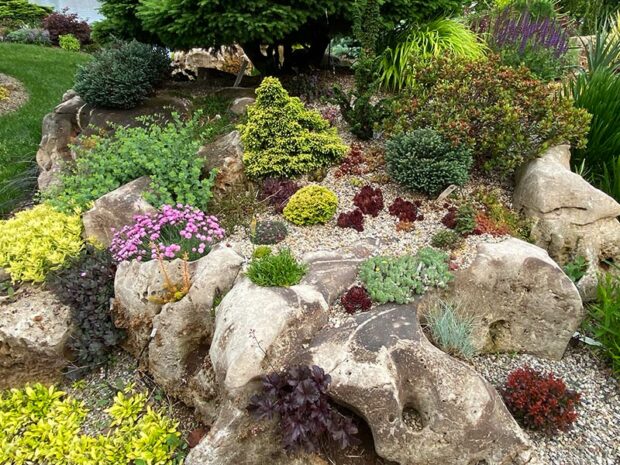
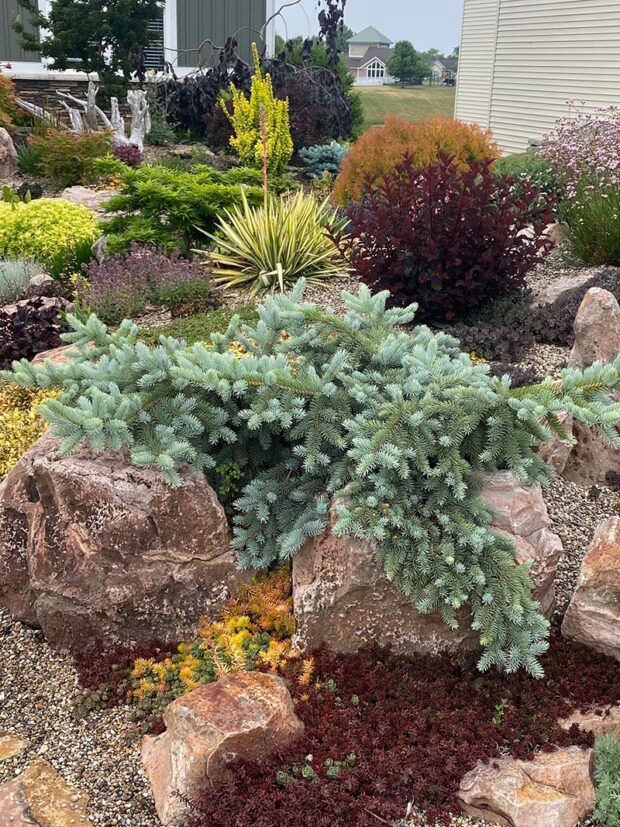
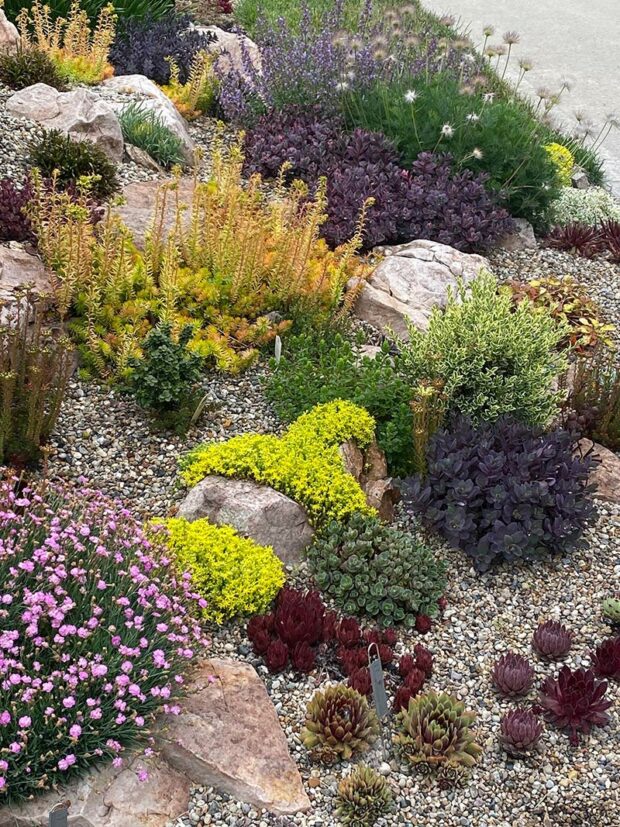
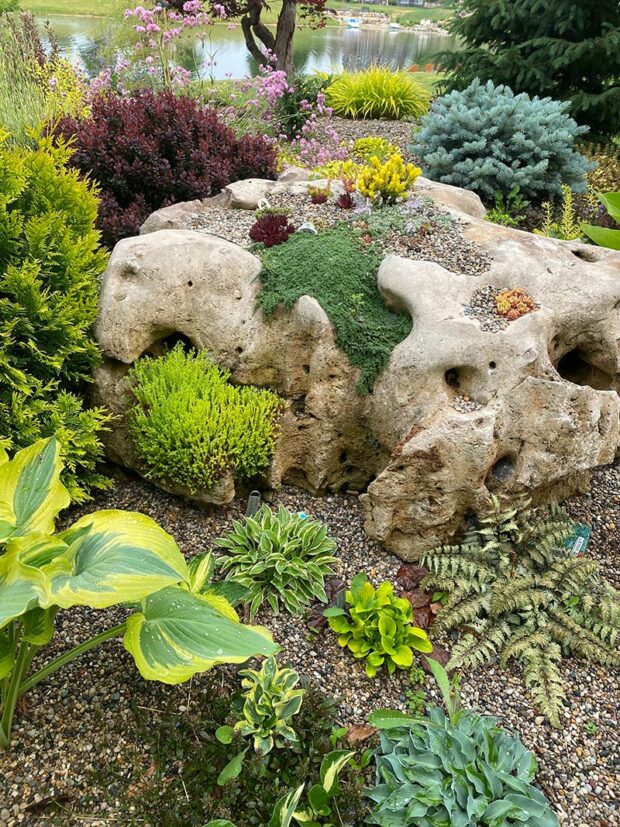
The property is filled with garden beds that have been formed around strategically placed boulders. These rocks are a type of sandstone whose buff tan color is a perfect neutral background for plants. They were shipped to Michigan from Kansas and Colorado. Chris chose them because they also have countless holes and crevices in which to tuck succulents and other diminutive plants. These boulders arrived on three large semi-truck beds and took a massive amount of work and major machinery to get them placed around the property.
The main obstacle in the boulder placement was the fact that Chris’ house is situated on a slope and the subdivision’s houses are quite close to each other. Some of the boulders were enormous. In fact, one of the stunning boulders in the back garden weighs over 9,000 pounds! How do you move something like that, you may ask? Between two houses, down a hill… I wondered as well. Chris explained that two front-end-loaders were used. They faced each other with the boulder balanced between them on the two buckets. One loader backed down the hill, with the other facing it. Imagine taking a refrigerator down a staircase and you are the one going backwards. A few of the largest boulders were placed in the backyard using this slow, painstaking process.
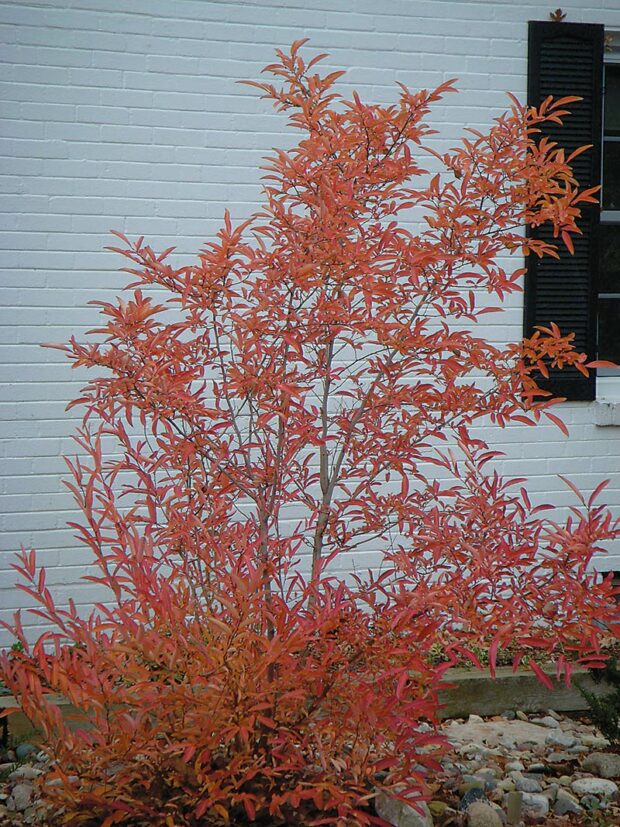
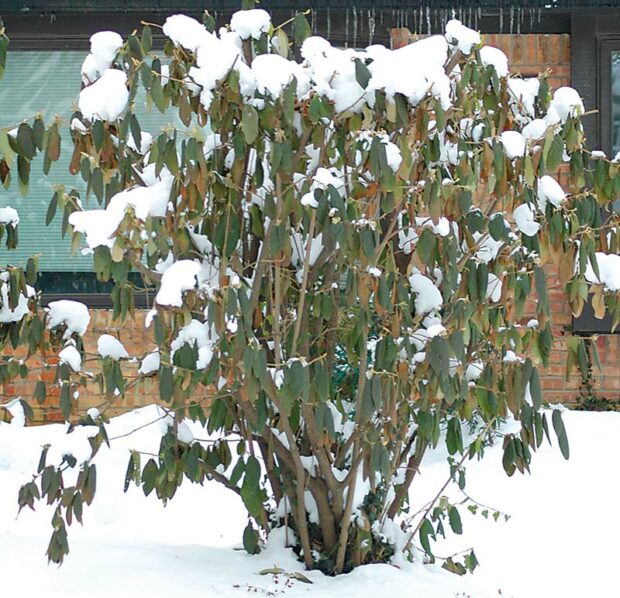
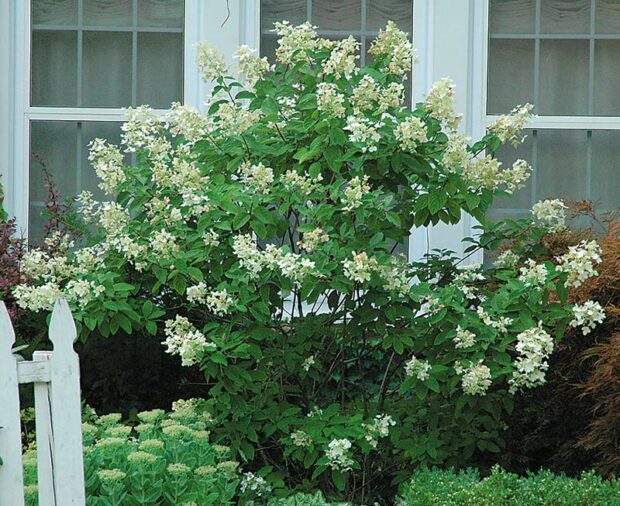
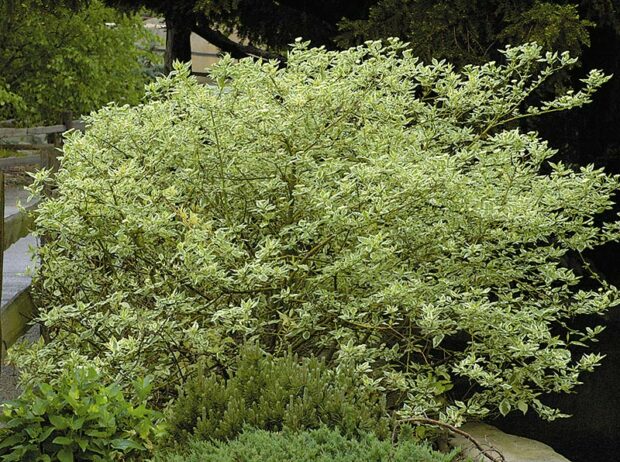
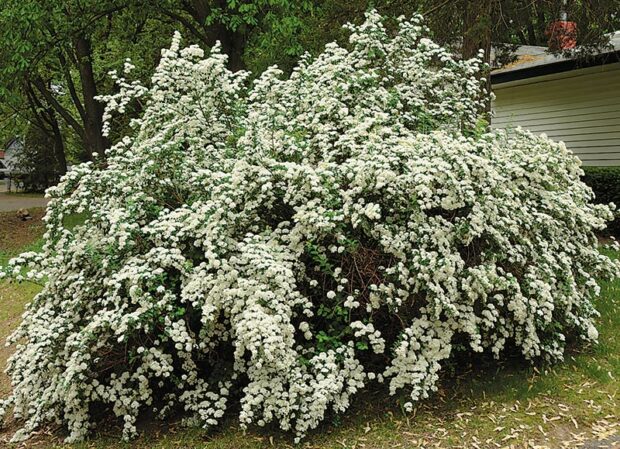
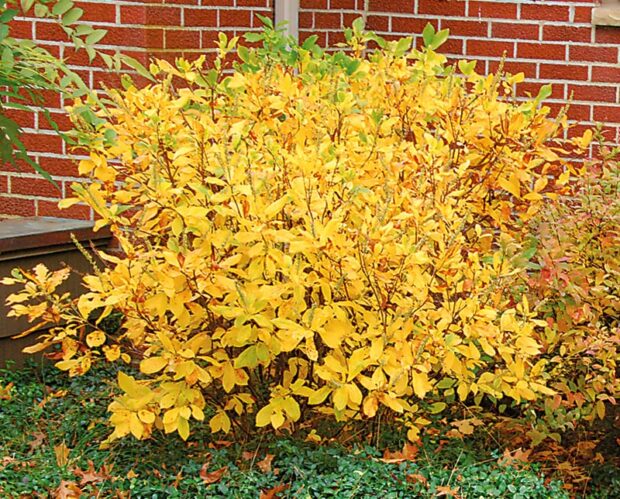
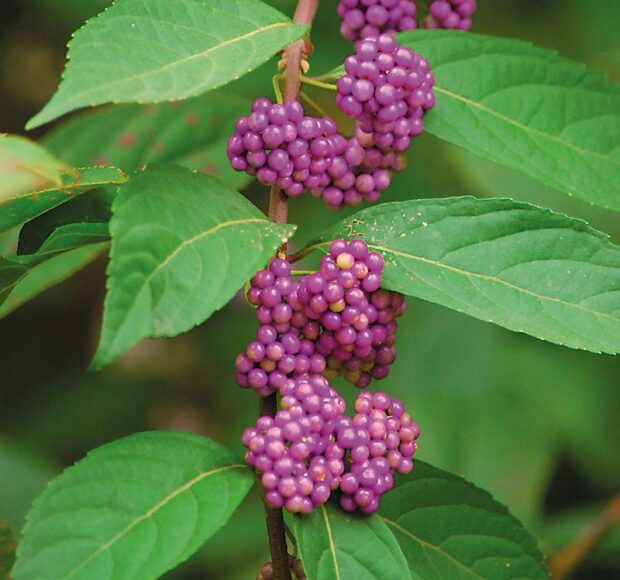
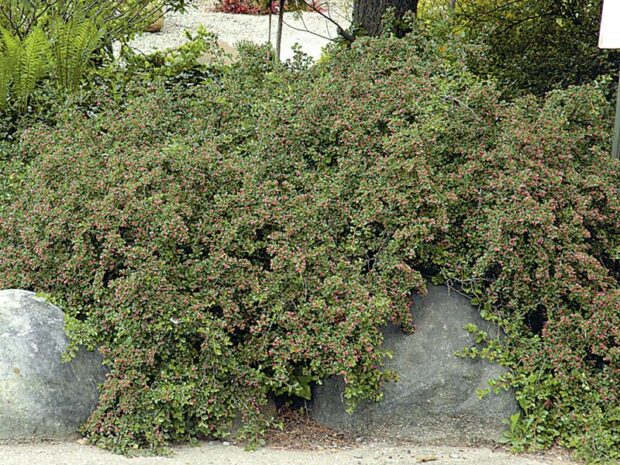
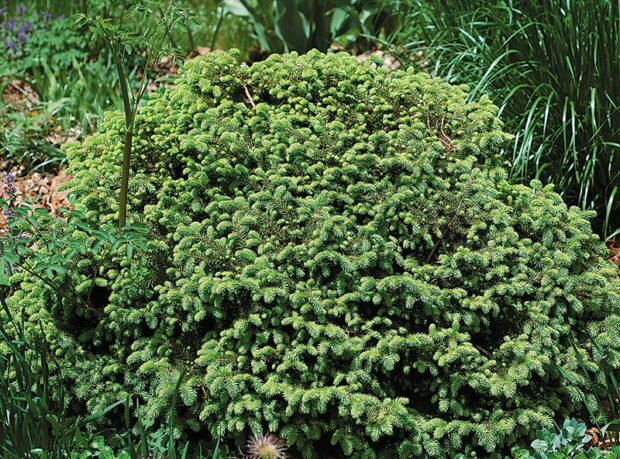
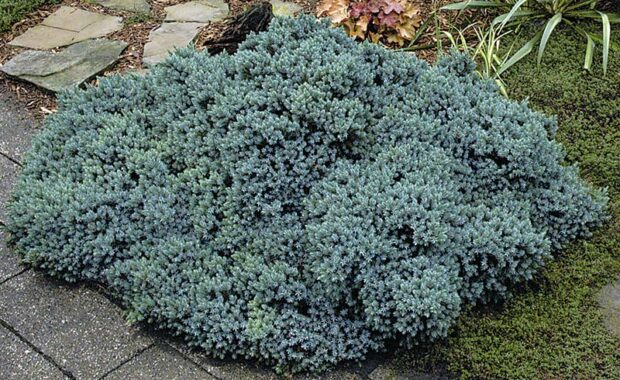
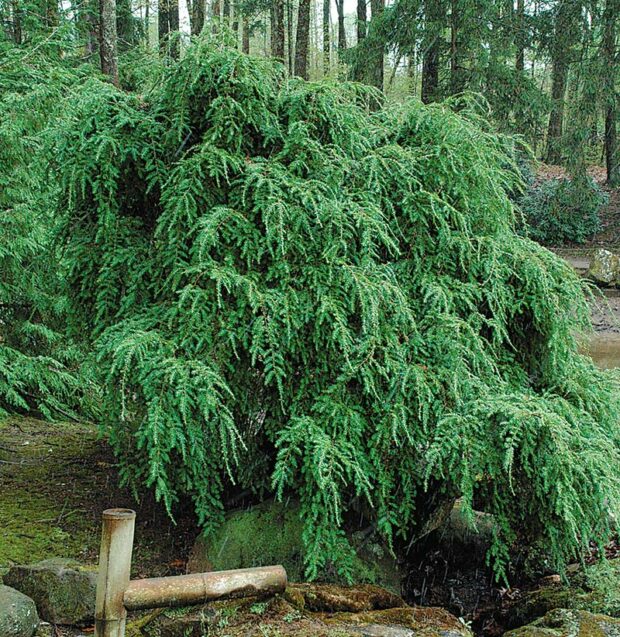
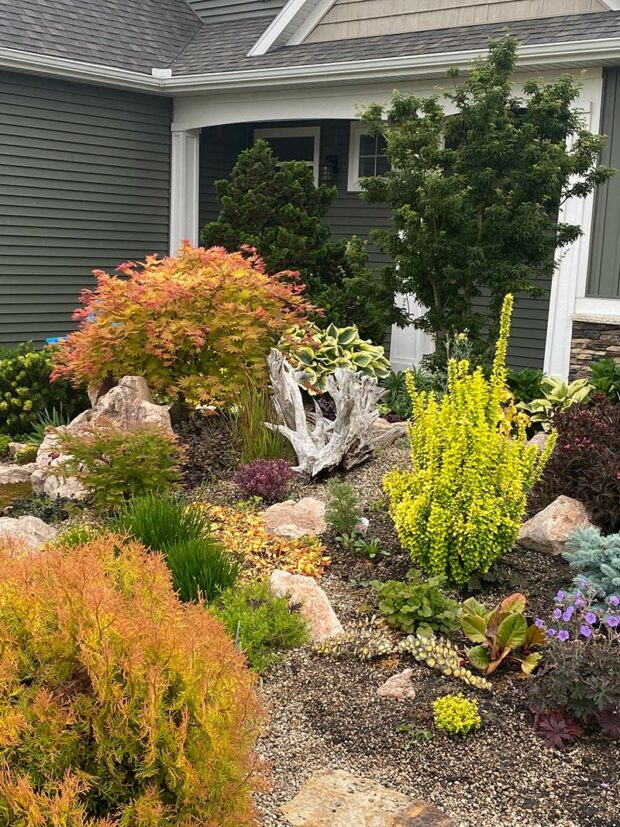
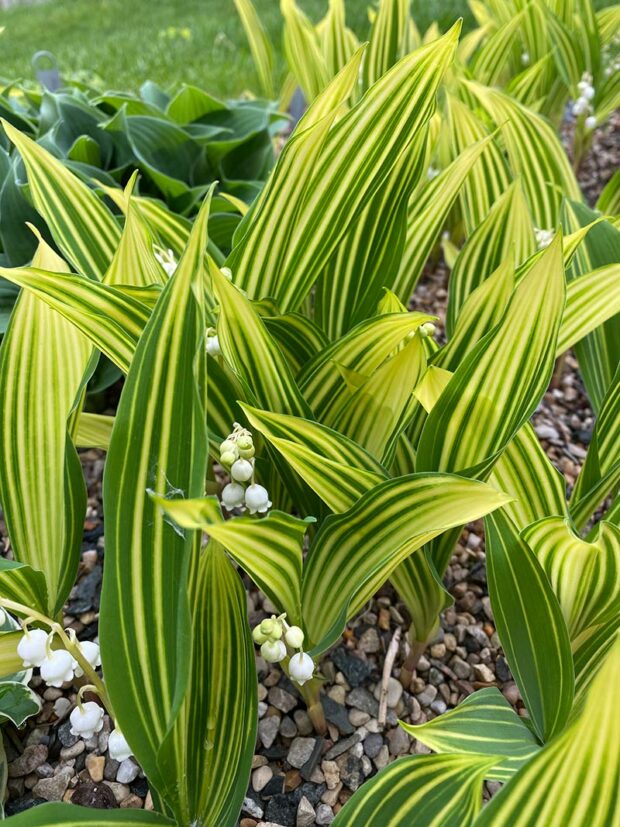
After the boulders were placed, the beds were created. Then the planting began and still goes on to this day. After all, Chris is a true gardener, and gardening is a process that is ever evolving. Because he is a collector, he plants in odd numbers of one or three. If you plant in a grouping of 5 or 7, you lose too much space for other plants! His goal is to showcase good genetics in his garden; it is a test garden for many of the plants that he has hybridized—more on that later. One thing you will not find is annuals or anything with thorns. Chris wants to find out how much color he can display using only perennials, conifers, trees, and shrubs. He has done a masterful job. His garden is a plethora of color in well-designed beds. The conifers ensure he has winter interest as well. The west side of Michigan has long, white winters; colorful evergreens make the white expanse much more palatable during the long barren season.
The hybridizer
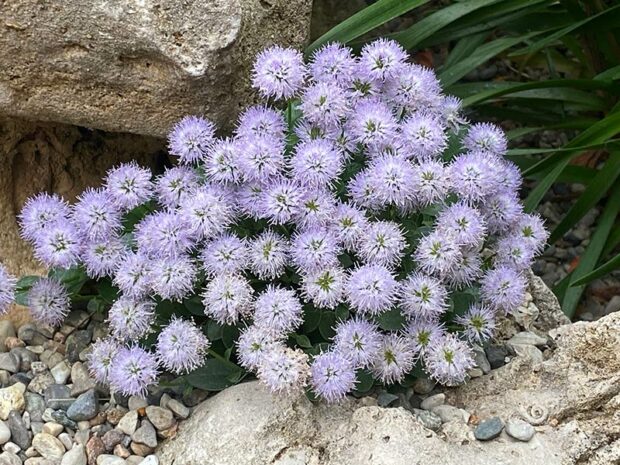
Though his garden is stunning, Chris’ claim to fame is his plant hybridizing. He spends his time developing new plants that have proven to be widely popular. If you have seen a Chick Charm sempervivum (hens and chicks), that is one of Chris’ plant brands. My favorite is the award-winning ‘Gold Nugget.’ This cultivar changes colors throughout the year and is the most golden in cooler weather.
How did Chris get started in the plant industry? It all began at age five in kindergarten. His teacher was growing a spider plant and snipped off a baby plant for Chris to take home. Who would have ever thought the ubiquitous spider plant would be the catalyst for a long horticulture career? Around that same time, after Chris’ request, his childhood neighbors gave him a paper bag full of hens and chicks that were growing in a huge, tractor-tire planter in their garden.
Fast forward to college in his home state—Chris received his bachelor’s degree in horticulture from Iowa State University. He then moved to South Carolina to work for Wayside Gardens as director of horticulture. He traveled all over the world buying plants from hybridizers to fill the Wayside catalog with the newest varieties. Chris was also the photographer for the catalog. After 10 years, he moved across the country to Portland, Oregon to work for Terra Nova Nurseries. After a few years there, he landed in west Michigan to start a new company where he began hybridizing hellebores (Lenten roses). Since those bloom in winter, he also worked on hybridizing summer bloomers and developed Sunsparkler sedums.
This career journey led him back to his love for sempervivums and his next obsession was hatched: Chick Charms. Remember the childhood curiosity that started with the bag of chicks from his neighbors? He now has 22 varieties and sells over 1.5 million each year nationwide. What is his latest plant? How about a groundcover ajuga in different shapes and colors? The Feathered Friends ajuga series is now available in garden centers.
Chris goes to work every day to not only hybridize amazing new plants, but to care for his three mini donkeys and flock of chickens. He keeps them at work so he can visit any time during the day. Plus, the homeowner’s association might frown upon them at home. Along with the office cats, the animals bring him and his employees joy. When I visited his greenhouses, I was happy to meet not only the plants but the pets too.
It is so interesting to know a bit about where popular plants originate. Chris likes to pass that joy of plants on to others, especially children. One recent spring, he invited his neighbors over for a succulent potting party. Two hundred pots of succulents later, the neighborhood children, along with their parents, were ecstatically happy. The love for plants can start from a young age, so let’s get those kids out there in the garden. You never know where it will take them—maybe a successful hybridizing career!
Lisa Steinkopf is The Houseplant Guru. Check out her newly updated website and blog at www.thehouseplantguru.com. Contact Lisa to speak at your next club meeting or event (houseplantgurulisa@gmail.com or 734-748-1241). Follow her on Facebook (Facebook.com/HouseplantGuru), Twitter (@houseplantguru), and Instagram (houseplantguru).